Cartoons To Draw For Beginners: 12 Simple & Fun Things To Draw
Introduction To Cartoons To Draw For Beginners
As a 5-year-old, cartoon drawing was my gateway into the world of art. It’s simple yet endlessly rewarding task for anyone. From kids to adults, to pick up a pencil and start creating is a wonderful escape. The best part? You don’t need a pile of fancy tools or years of experience to create something adorable and unique. Just a few basic shapes and a dash of imagination can transform blank paper into a parade of delightful characters. It’s the process that allowed me to create everything from smiling suns to silly robots. Whether you’re new to art or just looking for a fun way to unwind, cartoon drawing offers both. Ready to explore? Let’s discover the diverse array of ideas of cartoons to draw for beginners. My purpose is to provide fun and innovative methods to teach beginners how to draw.
Why Cartoon Drawing is Perfect for Beginners
Historically, cartoon drawing is a rare and enduring art form where simplicity shines. It doesn’t necessarily demand complex techniques or intricate details of drawing. With just a few strokes, you can create expressive characters full of personality. For beginners, this is a liberating way to explore creativity without worrying about “getting it perfect.” Cartoon drawing relies on basic shapes—circles, squares, and triangles—that anyone can draw, giving even the newest artists a feeling of accomplishment right from the start. Plus, it teaches essential skills like proportion, line control, shapes and imaginative expression. Additionally, you are allowed to create art with a mood that is light and fun. It’s art with less of the pressure, and more of pure creative visual expression.
The Joy of Creating Simple, Cute Cartoons
There’s an undeniable joy in the process of creating cute, simple cartoons. Each drawing can bring about happiness and provoke an easy smile. Within your drawing is the potential to make something that jumps from the paper and captivates an audience. These cartoons don’t just make you smile—they encourage you to take on the personality of the subject. Imagine creating a tiny penguin with a scarf or a smiling flower with big eyes. The magic lies in the simplicity, where each line carries a story. In drawing these lovable characters, you’re crafting your own little world of imagination. Less pressure or rules, instead just the pure delight of creating something that makes others—and you—smile.
Playful Cat
How to Draw a Basic Cat Face
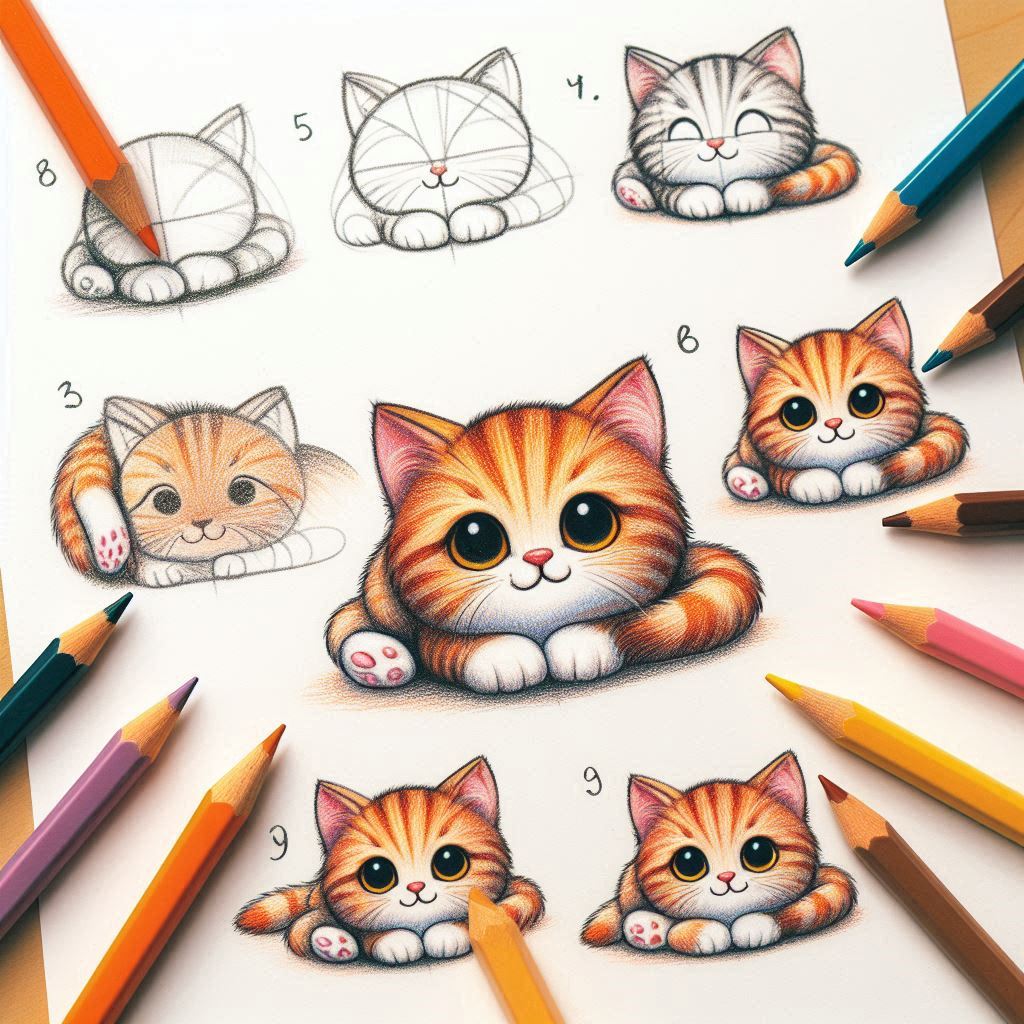
Drawing a playful cat is a delightful example of cartoons to draw for beginners. Start with a simple, rounded shape for the head—a soft oval or circle works best. Draw two small triangles on top for ears, angling them slightly to give your cat a curious expression. Beneath the head, add a small, inverted triangle for the nose and draw a gentle curve beneath it to form the mouth. Place two large circles above the nose for the eyes; if you want your cat to look especially cute, leave extra room within each eye for a tiny gleam or sparkle. Now you have the base for drawing a charming cartoon feline!
Tips for Adding Whiskers, Ears, and a Cute Expression
To bring even more personality to your playful cat, focus on the details. For whiskers, lightly draw a few short lines extending out from each side of the face. This simple touch instantly brings the cat to life. Add small lines within each ear to suggest fur, and consider giving your cat raised eyebrows or wide-open eyes to create an eager or mischievous look. If you want to take it up a notch, add a small, curved tail and little paws peeking out below the head. These finishing touches make your cartoon cat feel full of character—like it’s ready to pounce right off the page.
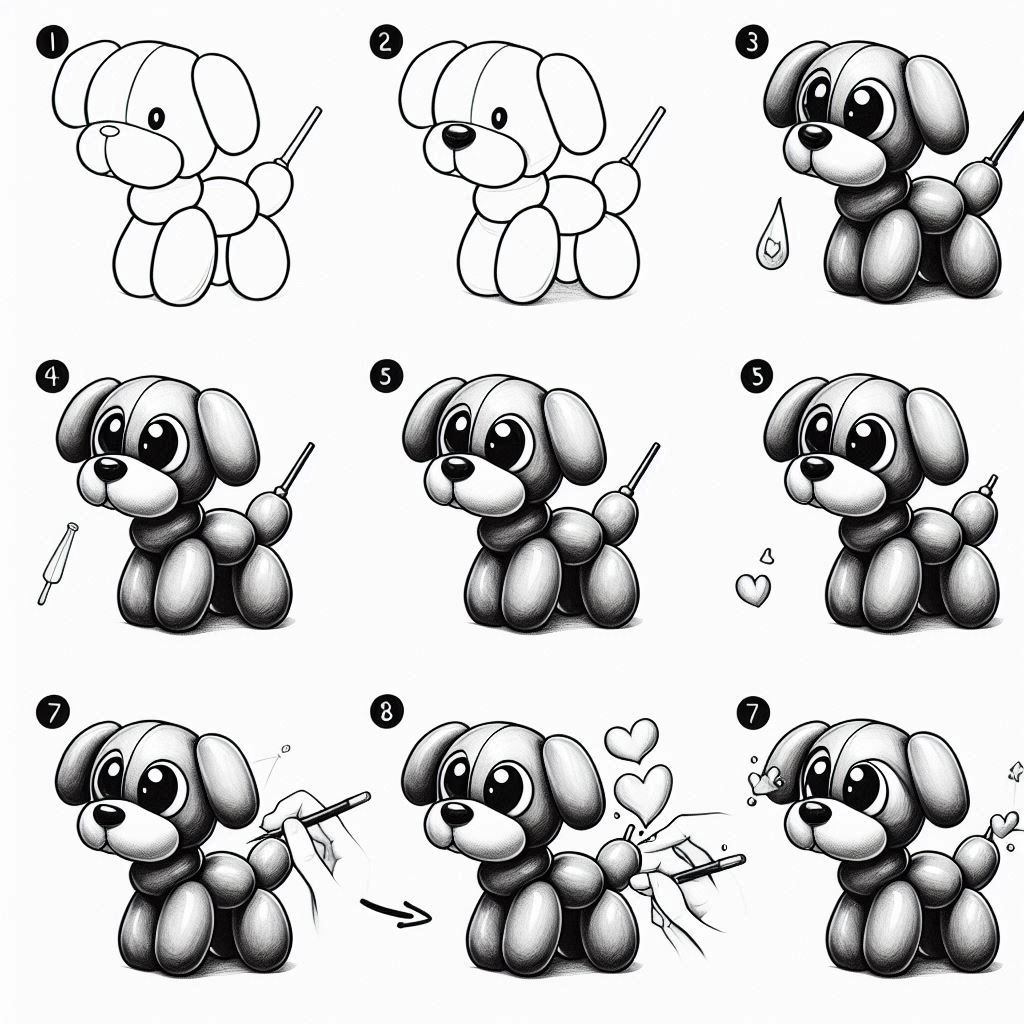
Classic Balloon Dog
The Simplest Way to Draw a Balloon Animal Dog
Drawing a balloon dog cartoon is both easy and irresistibly charming. Start by envisioning a string of inflated balloon segments, each connected to form the head, body, and limbs. Begin with the head—an oval shape with a slight taper at the snout. Below it, draw a larger, elongated oval for the body, leaving a bit of space to connect the head and body with a small oval “neck.” For the legs, sketch two sets of parallel ovals under the body, each resembling tiny sausage shapes. Repeat a similar shape at the back to create the hind legs. Lastly, add a smaller oval at the end of the body for the tail, making sure to keep it upright for that classic balloon-animal bounce!
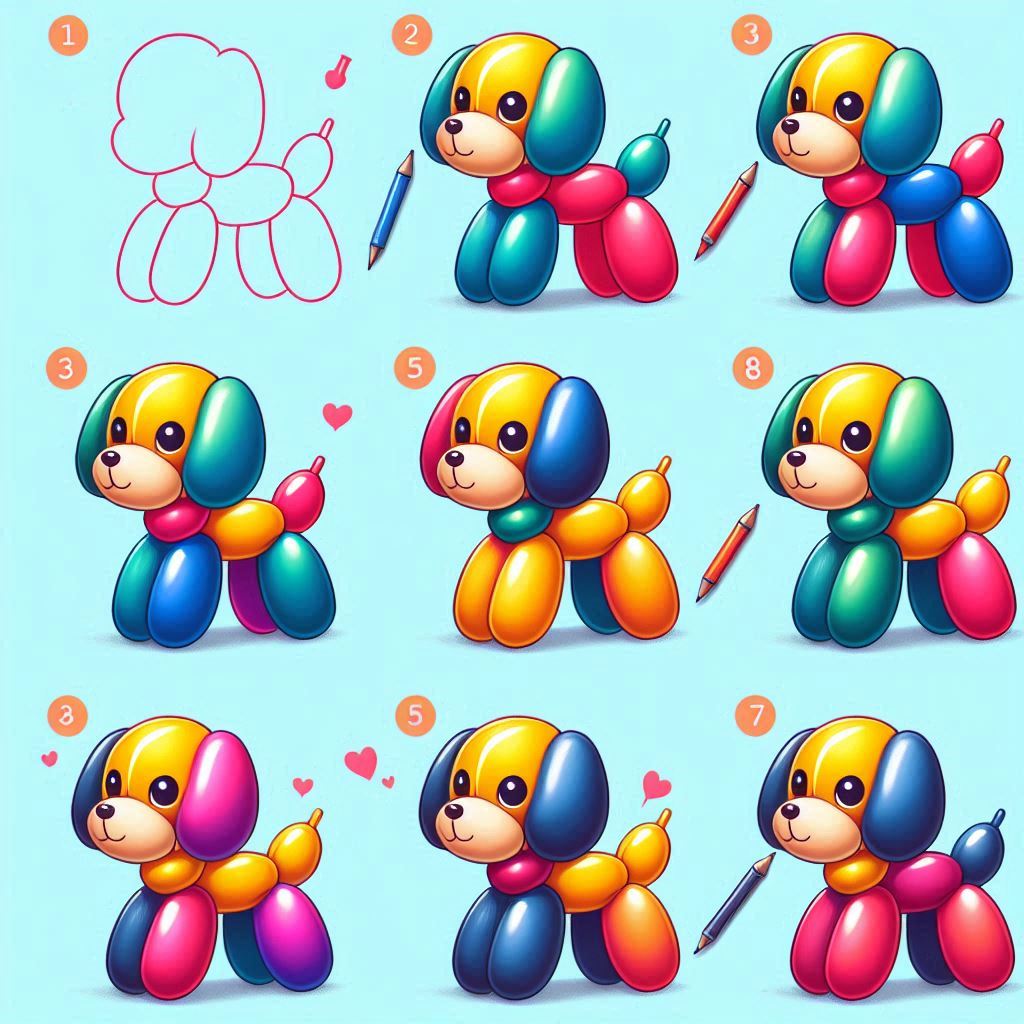
Make it Fun with Colors and Patterns
Now, here’s where you can let your creativity soar: add vibrant colors and playful patterns to your balloon dog. Choose bold, glossy shades like sky blue, bubblegum pink, or even neon green for a lively twist. To make it extra unique, try adding polka dots, tiny hearts, or stripes along the body. For a fun final touch, draw a little “glow” line on each segment to give it that shiny, balloon-like appearance. To achieve the vibrant glow in the illustration above, I recommend coloring with either markers or colored pencils.
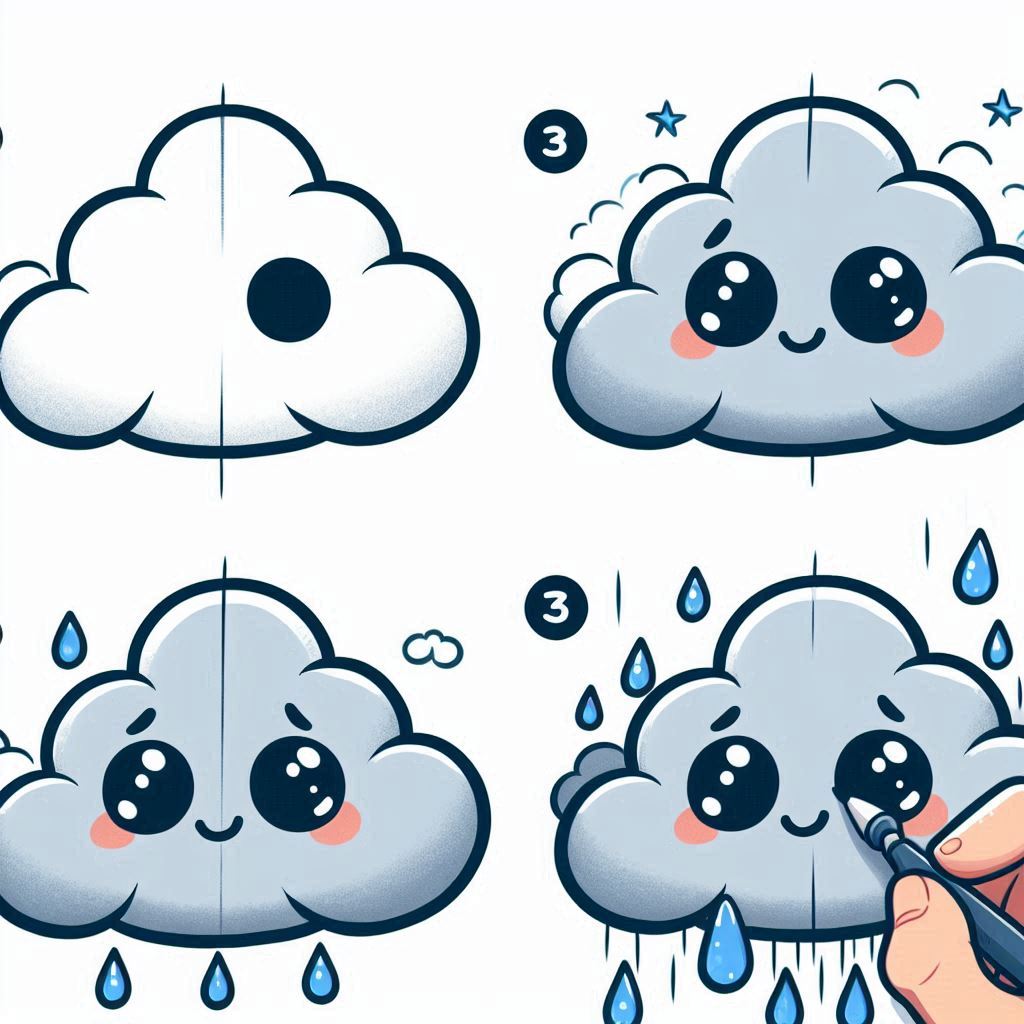
Happy Cloud with Raindrops
Drawing a Cute Cloud with a Smile
A happy cloud with raindrops is another example of cartoons to draw for beginners which brings joy. Begin by drawing a soft, puffy cloud shape, letting the edges dip and rise in rounded curves to give it a fluffy, relaxed look. Place a small smile near the bottom center of the cloud, using a gentle upward curve to create a cheerful expression. For eyes, two small circles on either side of the smile add the perfect touch—if you want to give it extra charm, add tiny sparkles or eyelashes. Now your cloud is officially beaming with personality!
Adding Raindrops for Extra Detail
To complete the scene, add a few raindrops beneath the cloud. Draw small, rounded teardrop shapes in a slight arc, letting them cascade down from different points along the cloud’s bottom edge. For an added touch of whimsy, vary the size and spacing of each raindrop to make the scene feel more dynamic, like a gentle drizzle. You could even color the raindrops in light blues or pastels to make them stand out against the cloud. With its happy face and scattered raindrops, this cartoon cloud radiates positivity. In my opinion, a happy cloud is one of the most fun cartoons to draw for beginners.
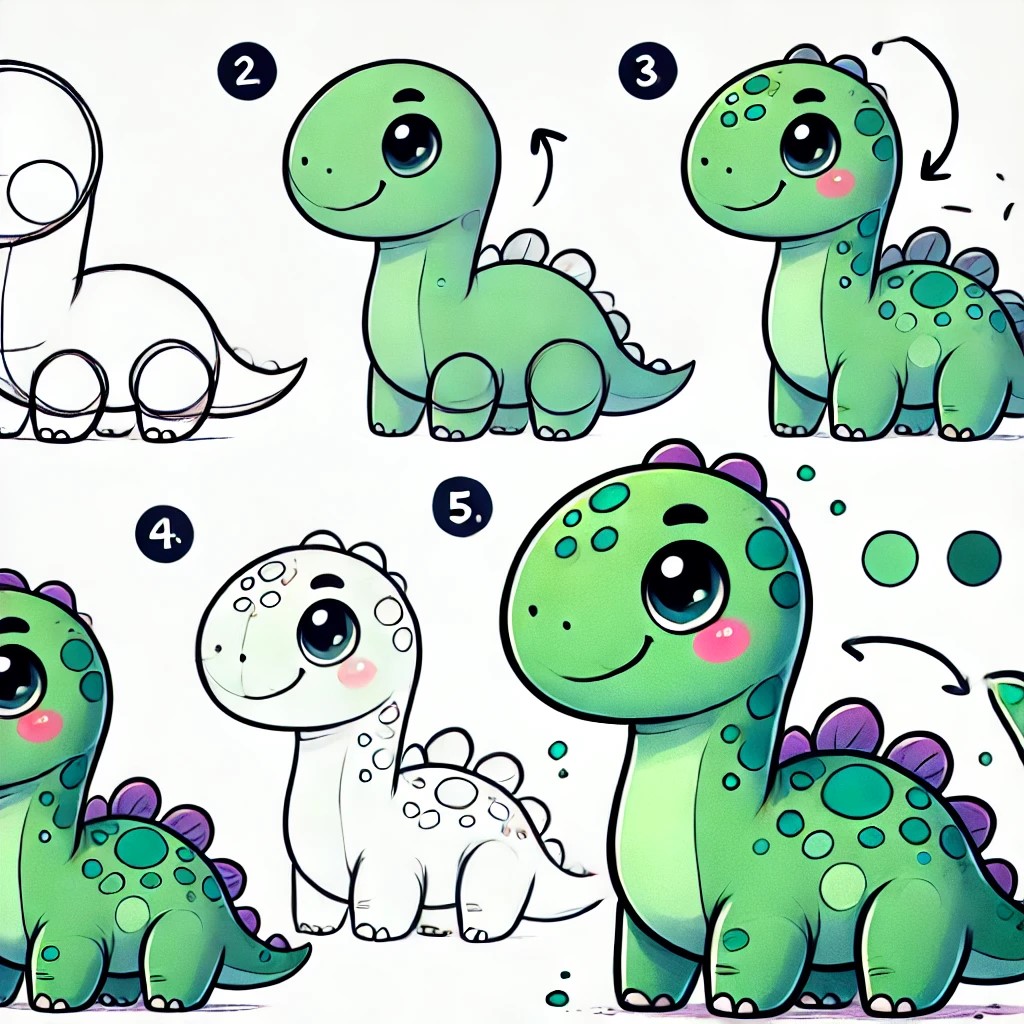
Friendly Dinosaur
A Beginner’s Guide to Drawing a Cute Dino
Drawing a friendly dinosaur is an entertaining way to add some prehistoric flair to your cartoon collection. Start with the body—a large, rounded oval tilted slightly sideways to give it a lively stance. For the head, draw a smaller oval atop the body, connecting it with a short neck. Add two tiny arms extending from the middle of the body and a long tail that curves upward, giving your dino that classic, playful look. Two small legs with rounded feet at the bottom of the body complete the structure, making this dino look ready to stomp around in the friendliest way possible!
Adding Spots and Fun Colors
To make your dinosaur truly pop, add some fun details. Draw a few large, rounded spots along the back and sides to give it a distinct pattern. You can also add small triangles along the top of its back and tail for playful “spikes” that give it character. When it’s time to color, go for greens, blues, or even bright purples to make your dino stand out. Consider adding color to the spots or even giving it a blush on its cheeks to make it extra cute. With its whimsical spots and vibrant hues, this friendly dinosaur is sure to charm anyone who sees it.
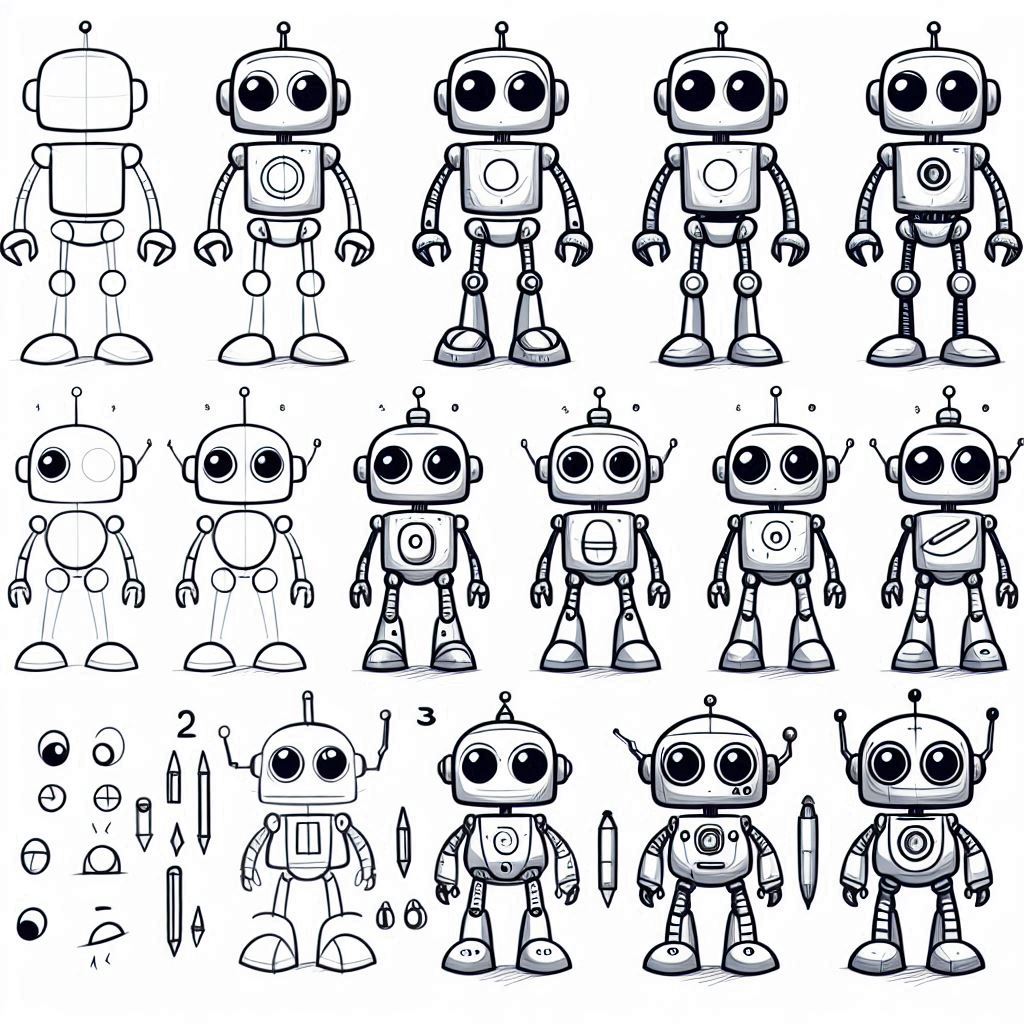
Silly Robot
Steps for Creating a Simple Robot with Character
Creating a silly robot is all about mixing simple shapes with quirky details that bring it to life. Begin with the body—a square or rectangular shape works perfectly to give your robot a sturdy, classic look. Above it, add a smaller circle or rectangle for the head, and don’t forget to connect them with a short “neck” line. For arms, draw two thin rectangles extending from each side of the body. End each arm with a small circle or block for hands, ready to wave or hold a gadget. Then, give your robot two matching rectangular legs with rounded feet at the base, making it look ready to explore!
Customizing Your Robot: Buttons, Antennas, and Lights
Now comes the fun part: customization! Add personality with a set of round buttons down the front, each in different sizes or colors for a whimsical touch. Draw an antenna on top of the head, a classic finishing touch—give it a small circle or star at the end to make it stand out. You can also add a pair of big, friendly eyes, a quirky, rectangular mouth, or even a little panel on the chest with dials and switches. Don’t forget some glowing “lights” in bright colors like red or green, which make it look like your robot is powered up and full of character. With each detail, this silly robot becomes more unique, ready to bring smiles with its robotic charm.
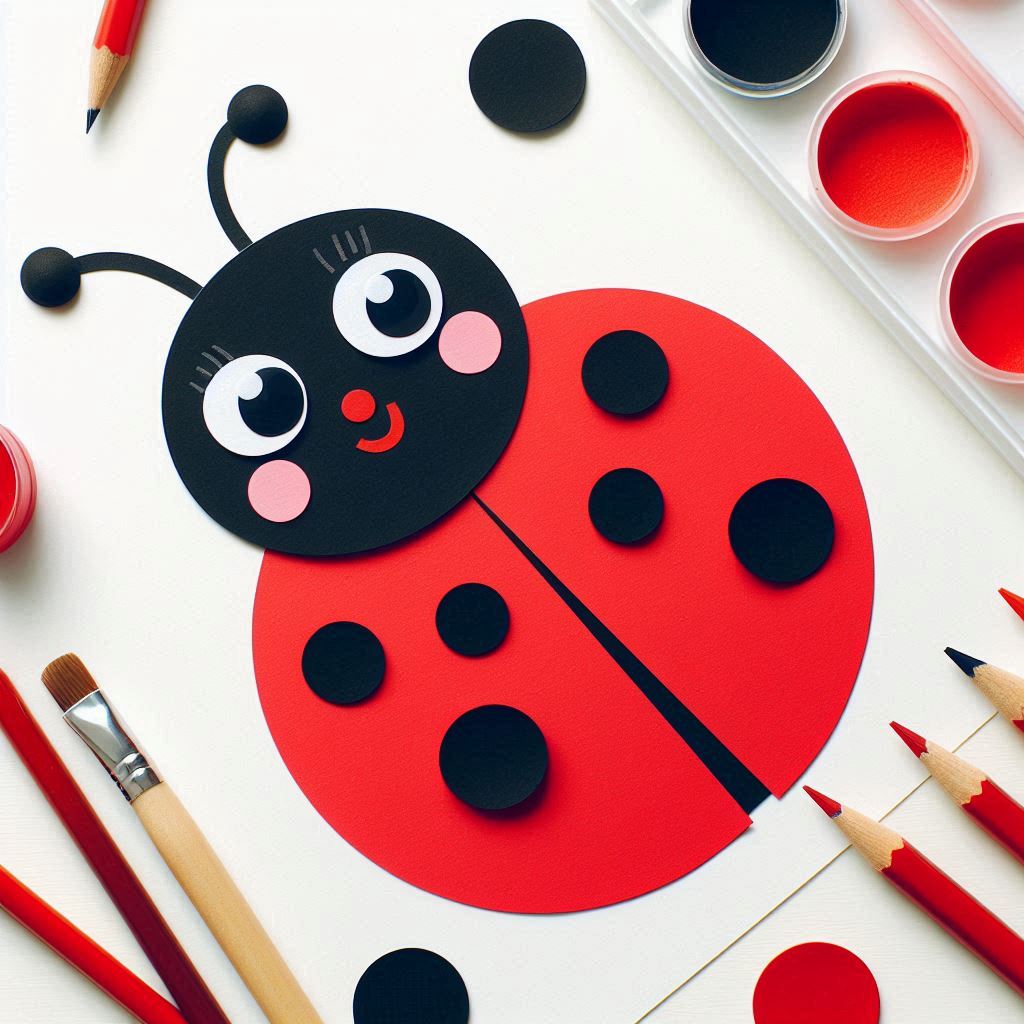
Little Ladybug
Easy Circle Shapes to Make a Ladybug
Without a doubt, a little ladybug is one of the most joyful cartoons to draw for beginners. Start by sketching a big, round circle for the body. This shape is the heart of your ladybug and gives it a plump, cheerful look. Next, draw a smaller circle or oval at the top for the head—just big enough to give it a cute, rounded face. To create the classic look of ladybug wings, draw a line down the center of the body, splitting it into two halves. These wings are the signature of a ladybug, and just like that, your little bug is starting to come to life!
Adding Dots, Wings, and a Smile
Now, add the charming details that make this ladybug unique. Dot each side of the wings with a few small circles to create that unmistakable ladybug pattern. Make each dot a little different in size for a playful effect. Next, draw two tiny antennae sprouting from the head, curving them slightly to add some character. Don’t forget to add a big, friendly smile on the face—nothing too serious; just a simple curve to give your ladybug a happy vibe. Finish it off with little legs peeking out from under the body, and if you’d like, a pair of soft, pastel wings. This adorable ladybug is now complete, ready to spread joy with its tiny charm!
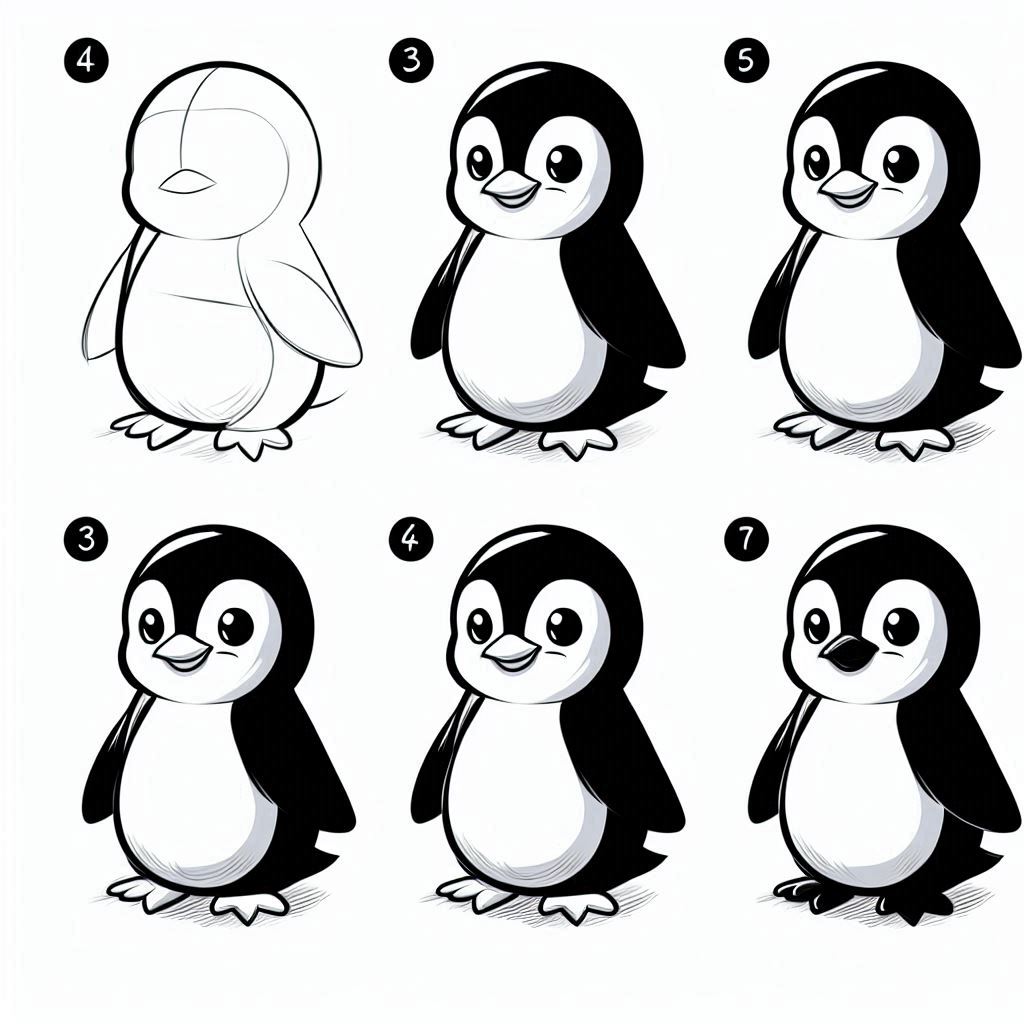
Cartoon Penguin
Drawing a Penguin in Just a Few Simple Steps
Creating a cartoon penguin is as easy as it is adorable. Begin by drawing an oval shape for the penguin’s body—slightly wider at the bottom to give it that classic, chubby look. For the head, draw a smaller oval or circle that overlaps just slightly at the top of the body. To add the wings, sketch two small, curved shapes on each side of the body, angling them outward just a bit, as if the penguin is ready to waddle off on an adventure. Finally, add two small ovals at the bottom for feet, rounding them out to look like little flippers.
Tips for Adding a Winter Hat or Scarf
To give your penguin some extra personality, add a tiny triangular beak in the center of the face, and place two round eyes above it. You can even add a little gleam in each eye to make them sparkle. For a fun, wintery touch, draw a cozy scarf wrapped around the neck or a knit hat with a pom-pom on top. Use bold colors like red, green, or blue for these accessories—they pop against the classic black-and-white penguin body. Of all the cartoons to draw for beginners, this one is the most customizable!
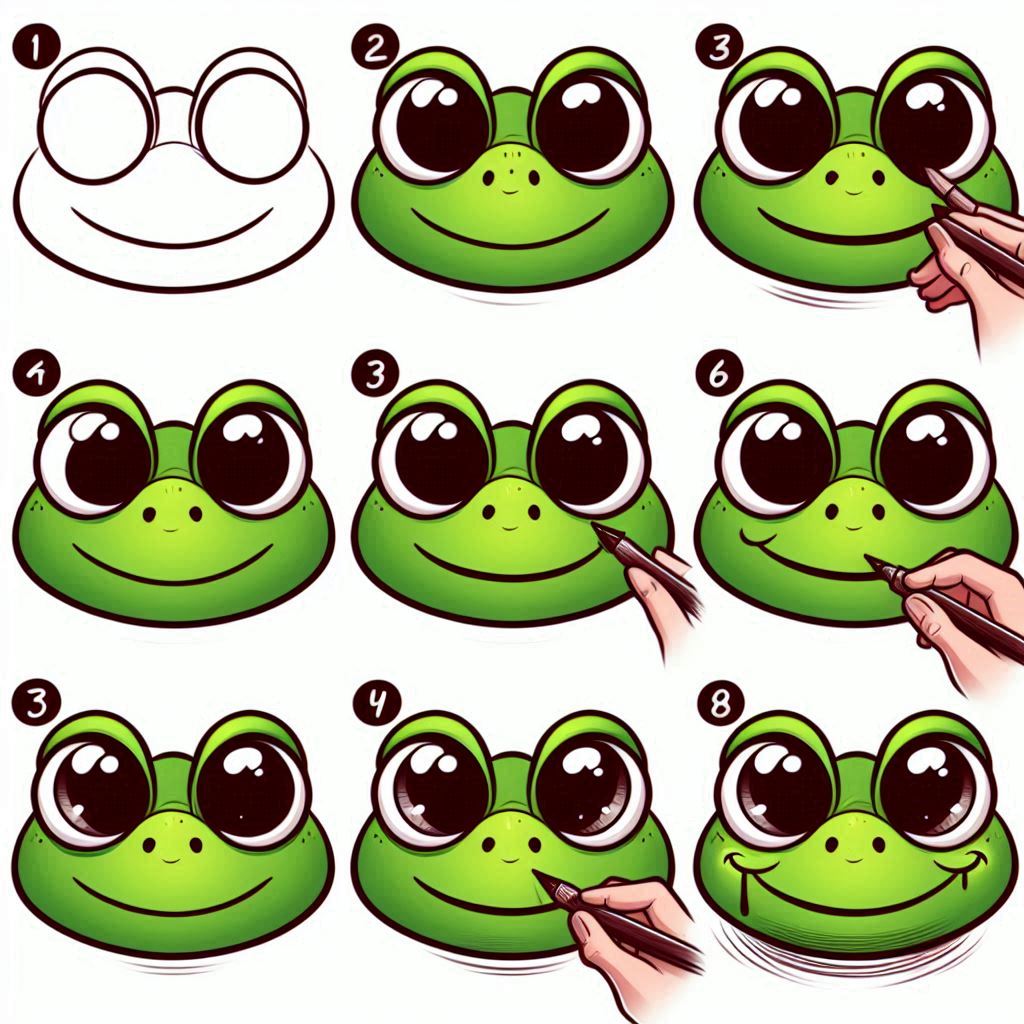
Funny Frog Face
Creating a Frog with Big Eyes and a Grin
Drawing a funny frog face is pure delight, with a few quick shapes turning into a grin that’ll make anyone smile. Start with a big, rounded shape for the face, slightly flattened at the top to give it a unique, froggy appearance. Now, add two large circles at the top of the head for those classic, bulging frog eyes. Make them nice and big—almost comically oversized—and add tiny black dots inside each one for the pupils, giving your frog a lively, wide-eyed look.
Adding Simple Details like a Tongue and Spots
Next, sketch a wide, cheeky grin just below the eyes. This is where the frog’s personality really comes out, so feel free to make it as broad and quirky as you’d like. Add a small line for a tongue sticking out from one side, giving it that fun, mischievous vibe. To complete the look, add a few small circles or spots on the cheeks or forehead. This simple touch adds character and makes your frog face look even more playful. With its huge eyes, goofy grin, and charming details, this funny frog is sure to hop right into your heart!
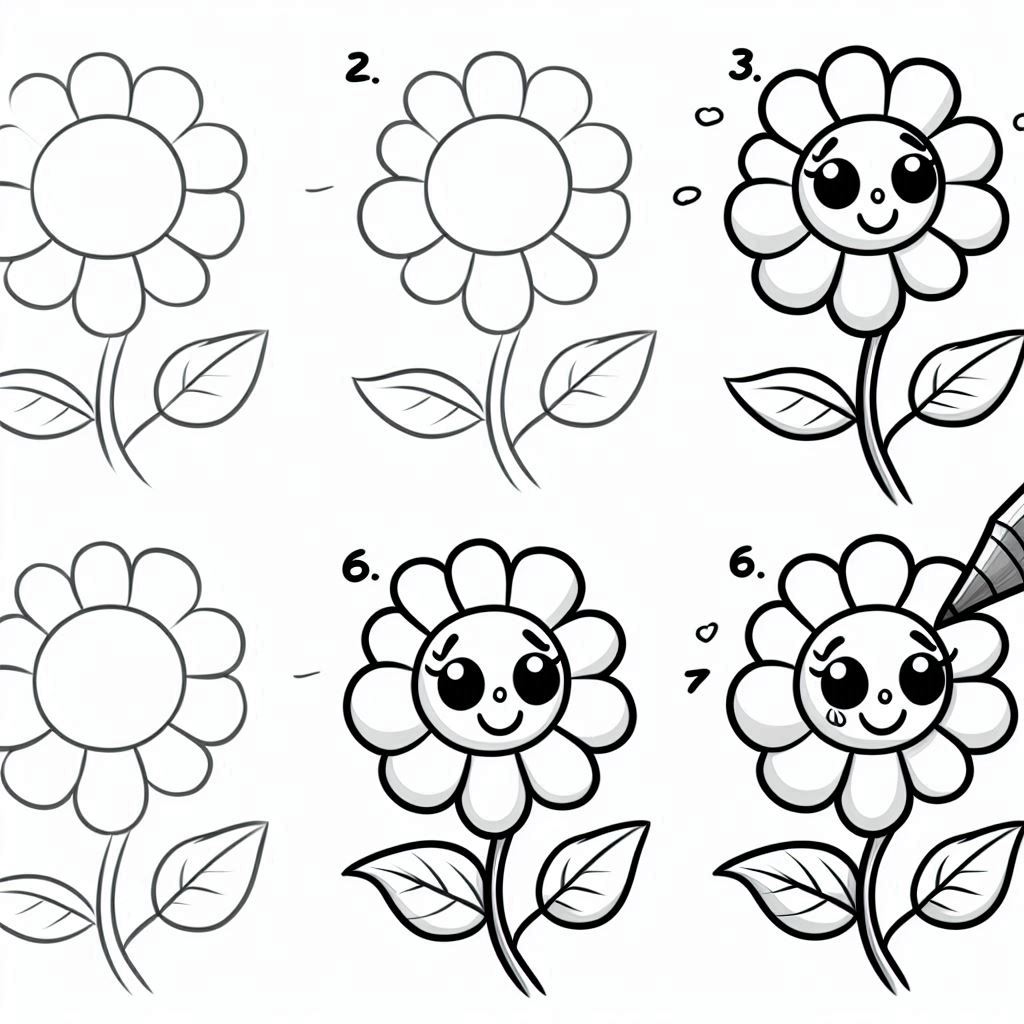
Cheerful Flower
Drawing a Smiling Flower with Petals
A cheerful flower with a big smile is as simple as it is uplifting. Hence, it is one of the top choices for cartoons to draw for beginners. Start by drawing a circle in the center for the flower’s face. Add two small dots for eyes and a broad, friendly smile right below—this flower is all about spreading happiness! Next, draw petals all around the face, making each one slightly different in shape if you want to give it a quirky, lively look. Classic oval petals are always a lovely choice, but feel free to experiment with pointed or ruffled edges for extra personality.
Ideas for Adding Leaves and Different Petal Shapes
To bring your flower to life, add a tall, thin stem below the petals. Draw a couple of leaves on each side, curving them slightly to give the flower a playful lean. If you want to mix things up, try adding petals of varying sizes or colors, or even a little blush on its cheeks. You could even add a few more tiny flowers nearby to create a cheerful little garden scene. With its welcoming smile, vibrant petals, and leafy details, this cheerful flower is sure to brighten any page!
Curious Owl
How to Draw an Adorable Owl with Big Eyes
Drawing a curious owl with big, expressive eyes is a fantastic way to bring a touch of woodland whimsy to your art. Begin by sketching a large oval shape for the owl’s head and a smaller, rounded body beneath it. Position the head slightly tilted to one side, giving the owl a look of curiosity. Now, draw two large circles for the eyes—make them oversized to emphasize that inquisitive gaze. Inside each eye, add a smaller circle and shade it to create those wide-eyed, alert pupils.
Adding Feathers, a Beak, and Branches
Add a small triangle between the eyes for the beak. Keep it pointed, but tiny enough to keep the focus on those big, bright eyes. For the feathers, sketch gentle, rounded lines that fan out from the body, suggesting a fluffy, layered texture. If you’d like, add a few details to make each feather distinct. Now, add two little wings folded along the sides of the body, and for a final flourish, draw the owl perched on a thin, twisty branch. Add some leaves or even a second, smaller branch for balance. This adorable owl, with its intense gaze and delicate details, is sure to become a favorite addition to your drawing collection!
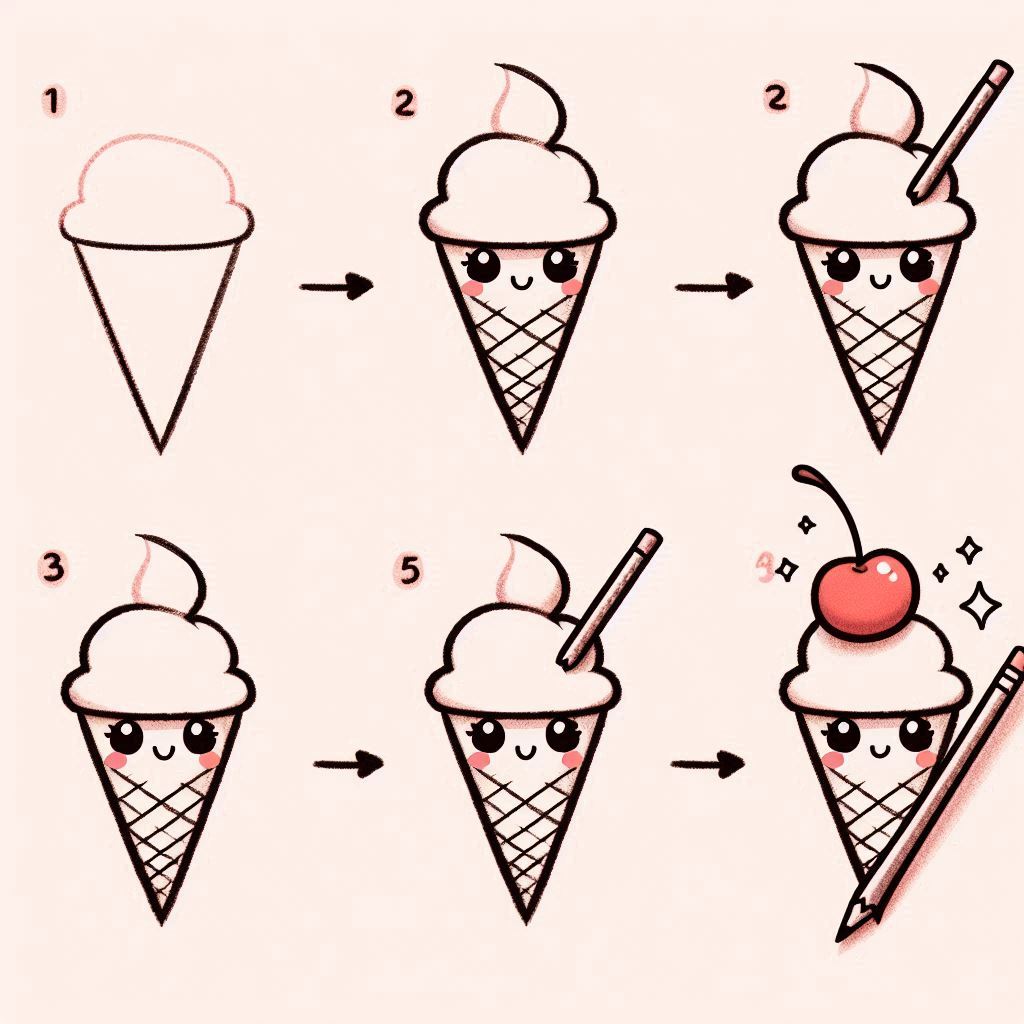
Happy Ice Cream Cone
Creating a Cone with a Cute Face and Cherry
Who can resist a happy ice cream cone with a beaming face? Not only is an ice cream cone fun, it’s an easy thing to draw for beginners. Begin by drawing a simple triangle for the cone. Give it a slightly rounded base for a softer look. Now, let’s add a little face to bring it to life: two small, round eyes near the top and a sweet, smiling mouth just below. For an extra dash of charm, add rosy cheeks on either side of the smile, making your cone look absolutely delighted!
Customizing with Extra Scoops and Toppings
Now, let’s pile on the fun. Draw a big scoop of ice cream on top, making it slightly wider than the cone itself, with a few rounded drips along the edges to give it that fresh, melty look. Want to add a little more personality? Top it off with a cherry, resting right on top of the scoop. But why stop there? Add an extra scoop or two, and experiment with colors to create a rainbow of flavors! Sprinkle in some toppings—like tiny dots for sprinkles or a few lines for chocolate drizzle. This happy ice cream cone and other objects mentioned, is great for beginners sketching with pencil!
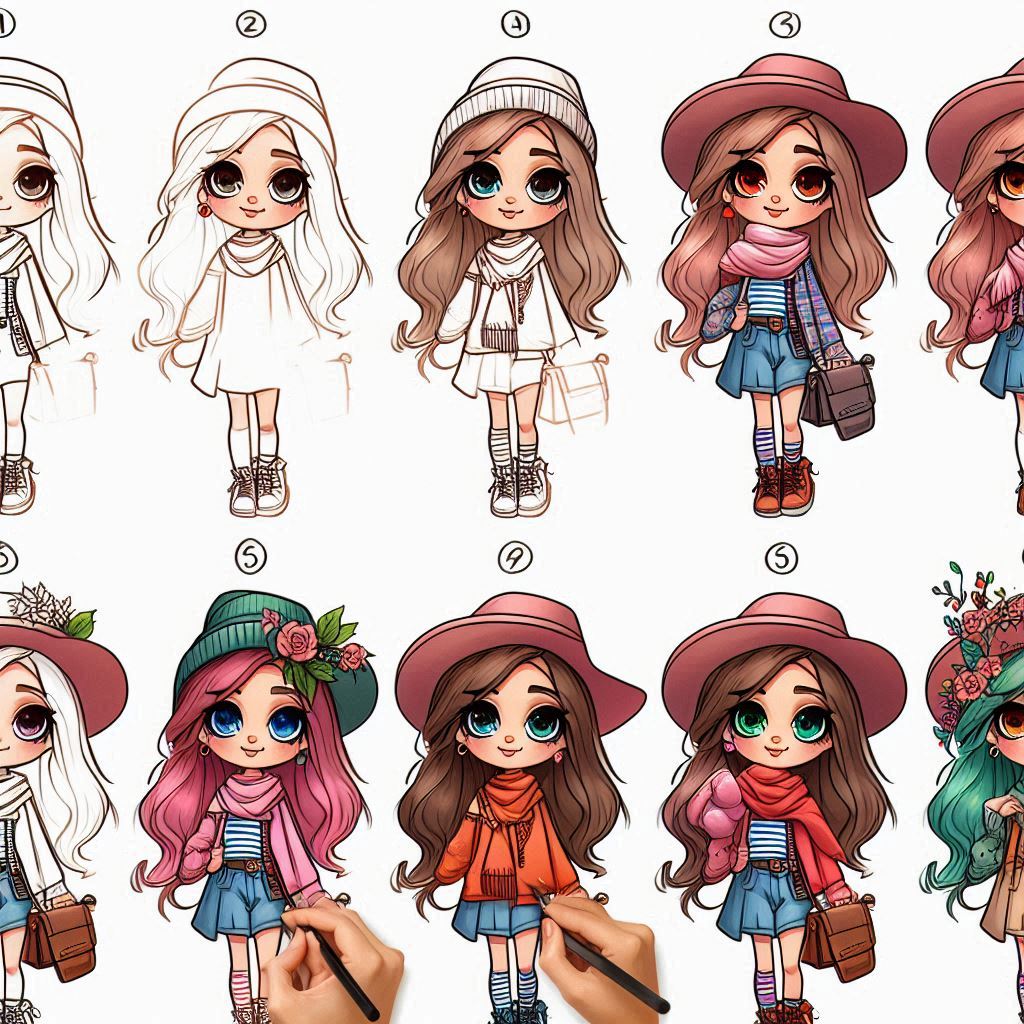
Tips for Personalizing Your Cartoons
Adding Faces, Accessories, and Fun Colors
Personalizing your cartoons can transform a simple doodle into a unique and captivating work of art. One of the easiest cartoons to draw for beginners is expressive faces added through personalization. Experiment with different eye shapes and sizes—big, wide eyes for a cute, innocent look. On the other hand, feel free to add smaller, sharper eyes for a touch of mystery. Play with various mouth expressions, too! A quirky smile, a playful wink, or even a wide, toothy grin can give your character a whole new personality.
Making Each Cartoon Your Own with Small Changes
With the face of your character established, now give it some flair with accessories. For example, add a tiny bow tie, a fun hat, or a pair of funky glasses. Accessories can say a lot about a character’s personality. Just ask yourself: does your character love the outdoors? Or perhaps they wear a backpack or a pair of boots? Is your character a tech lover? Maybe they sport a pair of cool headphones or carry a tablet. Truth be told, these little tweaks are what make cartoons to draw for beginners fun.
Lastly, don’t forget the power of color! While you can always stick to classic hues, consider introducing unexpected shades to really make your cartoon pop. Perhaps a purple penguin or a neon green dinosaur will add that quirky touch you’ve been looking for. By adjusting the color palette, you can set the mood of your character or make them instantly recognizable. Play around with color in the accessories, background, and even the character’s outline to make them truly your own. Small tweaks, whether in the expression, accessories, or colors is fun. In fact, they’ll result in a cartoon that reflects your personal style and creative vision!
Beginner-Friendly Tools for Cartoon Drawing
Pencils, Markers, and Apps To Use For Cartoons To Draw For Beginners
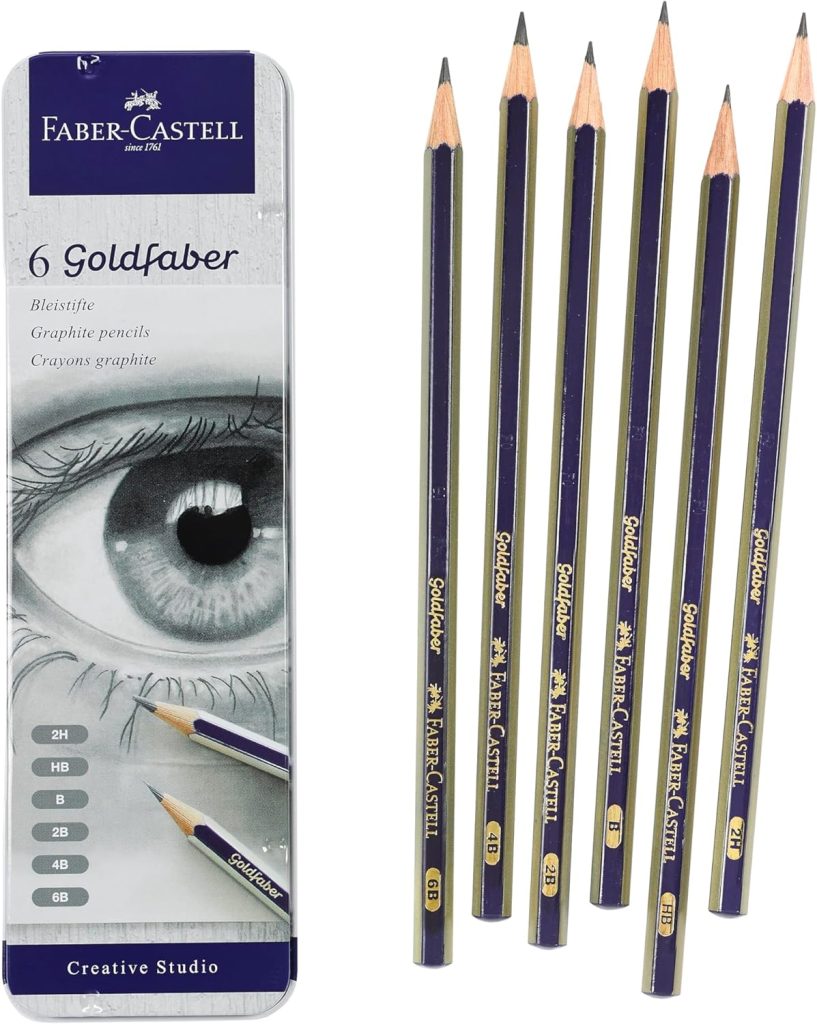
Before you even think about colors or fine details, a good pencil is your best friend. For beginners, a standard HB pencil will do the trick—it’s versatile and perfect for light sketching. But as you progress, keep a variety of pencils at hand. For example, a softer 2B to harder 4H, will help you experiment with different line thicknesses and shading techniques. Soft pencils like 2B are great for adding depth with smooth, dark lines, while harder pencils like 4H can create finer, lighter lines for delicate details. I recommend the Goldfaber graphite pencils by Faber-Castell. It’s the brand that I chose when I became more serious about drawing as a teen.
One pro tip: always start with a light hand. Sketch your characters lightly at first, as this gives you the freedom to erase and refine your design. Once you’re happy with your drawing, you can then go over the lines with more confidence. This soft-to-hard approach is a proven drawing technique I use today.
Markers: Bold Lines and Fun Colors
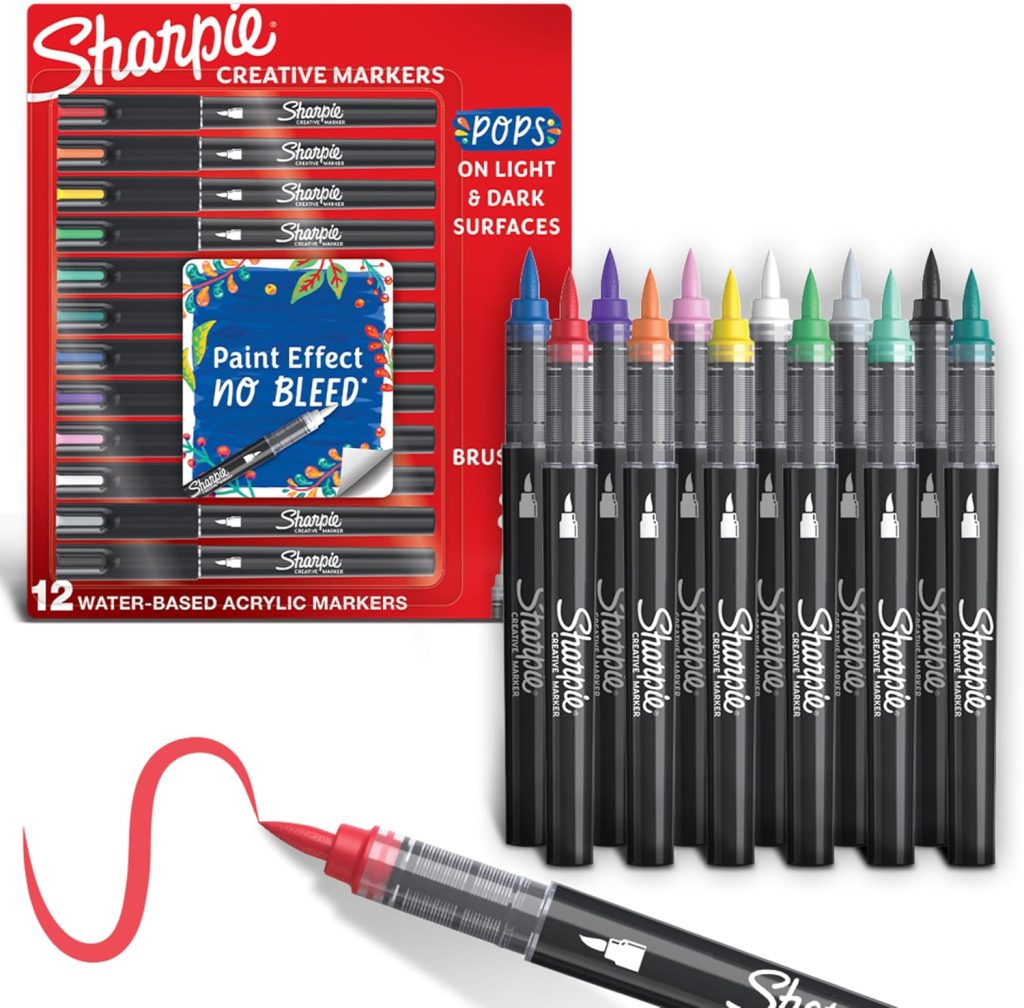
Once you are satisfied with your sketches, consider adding the effect of markers. Most notably, markers are perfect for adding bold, clean outlines and vibrant colors. Look for markers with dual tips: one for fine details and the other for filling in larger areas. A fine-tipped marker, like a Micron pen or a Sharpie, is excellent for tracing your pencil lines and defining the contours of your cartoon characters. It adds a crispness that helps make your designs pop. I’ve used everything from Sharpies and Microns, to children’s Crayola markers.
Basic Supplies to Get Started With Cartoons To Draw For Beginners
Now that you know what tools to use, here’s a quick checklist to help you gather everything you need:
- Pencils: A simple HB pencil for sketches, plus a few other grades (2B, 4H) for shading and detail.
- Markers: Fine-tipped pens for outlining, along with a set of colorful markers for filling in your cartoons.
- Eraser: A soft eraser for lightening pencil lines, and a precision tip for erasing small areas.
- Digital Apps: Procreate, Adobe Fresco, or Autodesk SketchBook for creating digital cartoons on your tablet or computer.
With just these tools, you’re all set to draw pictures for beginners! Whether you’re working with traditional media or diving into the digital world, the most important part is to keep practicing and having fun. Your cartooning adventure is just beginning—grab your supplies, let your creativity flow, and watch your skills grow.
Practice Makes Perfect: Building Confidence in Drawing
Starting Small and Embracing Simple Shapes
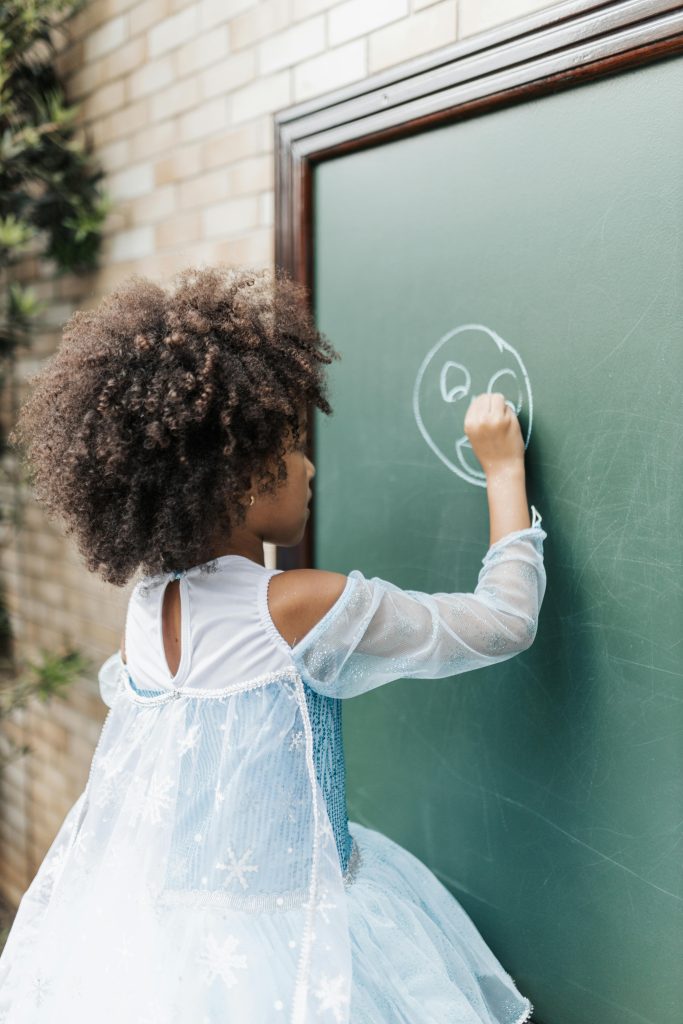
When you’re just starting your cartoon journey, it’s tempting to dive straight into complex, intricate designs. However, one of the most effective ways to build your confidence is by starting small. Focus on mastering basic shapes—circles, ovals, squares, and triangles. These simple forms are the building blocks of everything from animals to people to objects. By breaking your subject down into manageable components, you’ll gain a clearer understanding. This understanding improves your ability to see in terms of structure and proportions. As you progress and train your eye, drawing will become easier.
Take the time to draw simple shapes repeatedly. The more you do, the more comfortable you’ll become with their fluidity and versatility. Experiment by combining these basic shapes to form more complex designs. For example, a cute character’s head might start with a circle, while their body could be built using an oval. The key is to avoid overthinking it. Instead, embrace the simplicity and let it guide you toward more intricate forms when the time is right.
The Benefits of Practicing Cartoons To Draw For Beginners
The old saying “practice makes perfect” is especially true when it comes to drawing. The more you practice, the more you’ll notice improvement, and the less intimidating drawing will feel. Daily practice doesn’t need to be hours-long marathons. Even spending just 10-15 minutes a day sketching can make a huge difference. With consistency, you’ll begin to notice your hand gaining control, your lines becoming smoother. In addition, improvement will occur in your understanding of how to compare proportions, shapes and angles.
One of the best benefits of practicing every day is how it builds muscle memory. Just like learning an instrument, drawing becomes easier the more you do it. Over time, you’ll find that your ideas flow more naturally. Additionally, you’ll be able to sketch more confidently without the self-doubt that often holds beginners back. Daily practice also keeps your creativity flowing. The more you draw, the more ideas you’ll have, and the quicker you’ll learn new techniques to improve your work. Remember, it’s not about being perfect—it’s about showing up and doing the work. Keep practicing, and watch your confidence soar!
Encouragement to Keep Creating
Embracing Mistakes as Part of the Creative Process
The road to becoming a skilled artist is paved with mistakes, and that’s perfectly okay. In fact, those mistakes are often the key to unlocking your true potential. Every imperfect line, every misplaced curve is a lesson in disguise. Rather than seeing errors as setbacks, view them as valuable opportunities for growth. Each mistake you make teaches you something new—whether it’s how to handle a particular shape, how to improve your proportions, or how to make adjustments in your technique.
How Small Drawings Can Lead to Big Improvements
Sometimes, we get caught up in the idea that we need to complete a grand, complicated piece to see improvement. But often, it’s the small, simple drawings that lead to the biggest breakthroughs. Tiny sketches or doodles allow you to experiment without pressure. You can try new techniques, explore different shapes, and fine-tune your skills, all within a short amount of time. These little drawings may seem insignificant, but they’re actually stepping stones to greater mastery.
Conclusion
Recap of Fun, Adorable Cartoons to Draw
In this journey of cartoons to draw for beginners, you’ve unlocked the secrets to creating a variety of delightful characters. We’ve explored a variety, from the playful balloon dog to the cheerful flower, and everything in between. Each cartoon offers a chance to experiment with shapes, colors, and expressions, allowing you to bring your own creative flair to life. Whether you’re sketching a curious owl or a goofy frog, the beauty lies in the simplicity. Within those simple strokes we discover how to draw to evoke joy, humor, and personality using cartoons.
Remember, these drawings don’t need to be intricate masterpieces. They’re about embracing the process, enjoying the little details, and capturing the whimsy of each character. With just a few easy-to-follow steps, you can create something that’s both charming and uniquely yours. Keep building upon these sketch ideas for beginners. Each sketch is another opportunity to enhance your skills and grow as an artist.
Final Tips: Keep It Fun and Enjoy the Process
As you continue to explore the world of cartoon drawing, remember this: it’s all about fun! At this point, don’t worry about making every cartoon perfect. Allow yourself the freedom to make mistakes. Furthermore, experiment with new ideas, and express your creativity in the most playful way possible. The more you enjoy the process, the more naturally your style will emerge.
Experience the practice of cartoons to draw for beginners as a stress-free escape. Fortunately, it’s a chance to smile, laugh, and embrace your creativity. Each cartoon you create is a step toward improving your skills, and along the way, you’ll discover your own unique artistic voice. So, grab your pencil, let your imagination run wild, and most importantly, have fun! After all, the best art comes from a place of joy and spontaneity.
